I had in my head an image of the Falcon in the Death Star from the first movie. That, to me, is what the landing platform for the girl's spaceport should look like. Landing lights, arrows on the floor, a big glowing entrance – that sort of thing.

This was new territory for me. First I had to overcome my reluctance to make permanent changes. So far I'd only unscrewed things. By paining there was no going back to the dollhouse the way it was before. So I had to be sure I was going to get it right or I'd risk ruining this dollhouse for nothing.
I started with the easy part: Stickers. I bought some shiny stick-on sparkles, and some highly reflective white tape. An easy first step, but I couldn't add those until I was finished.
Then was the next easy step: colouring stuff black. Everyone knows how to use a sharpie. So I drew some black highlights around the edges. I had R help me put the "landing lights" (shiny sparkle stickers) on the edges that I coloured black. Her temperament wasn't well suited for measuring and putting evenly-spaced stickers, but she persevered. And when we finished, she covered pretty much everything she owned with the remaining shiny dot stickers. Lesson learnt: put supplies away when done.
The black sharpie was easy to use, but it wasn't enough. I needed something grey so everything wasn't too dark. I tried buying grey sharpies and other pens. Nothing worked – they weren't opaque enough and the wood pattern showed through. I had to try something new. I got some dark grey paint and mixed it with white until I got the shade I was looking for (You've unlocked: mixing paint). Together it made a nice landing platform for the Falcon.

To complete my vision, I had to paint the bottom as well. It was mostly a case of painting the floor black, then adding reflective tape to the floor and around the entrance as decorations. I printed out some decals from an extremely helpful website and glued them to some supports and the uncovered floor area.

The Theed door (above) fit perfectly, so I put that in as an entrance from the uncovered area. I also had some left over paint, so I painted parts of the stairs grey (the parts R hadn't already painted with watercolours one industrious rainy day) and added a floor decal to the landing.

To finish off the effect I painted the other floor I took from the original dollhouse and added more decals to the supports to make it look more Imperial. Note the additional observation platform on the top floor (Mon Mothma’s standing on it). The original attachments met with a bit of an accident, so I put it back together with more pieces and a little less wonky.
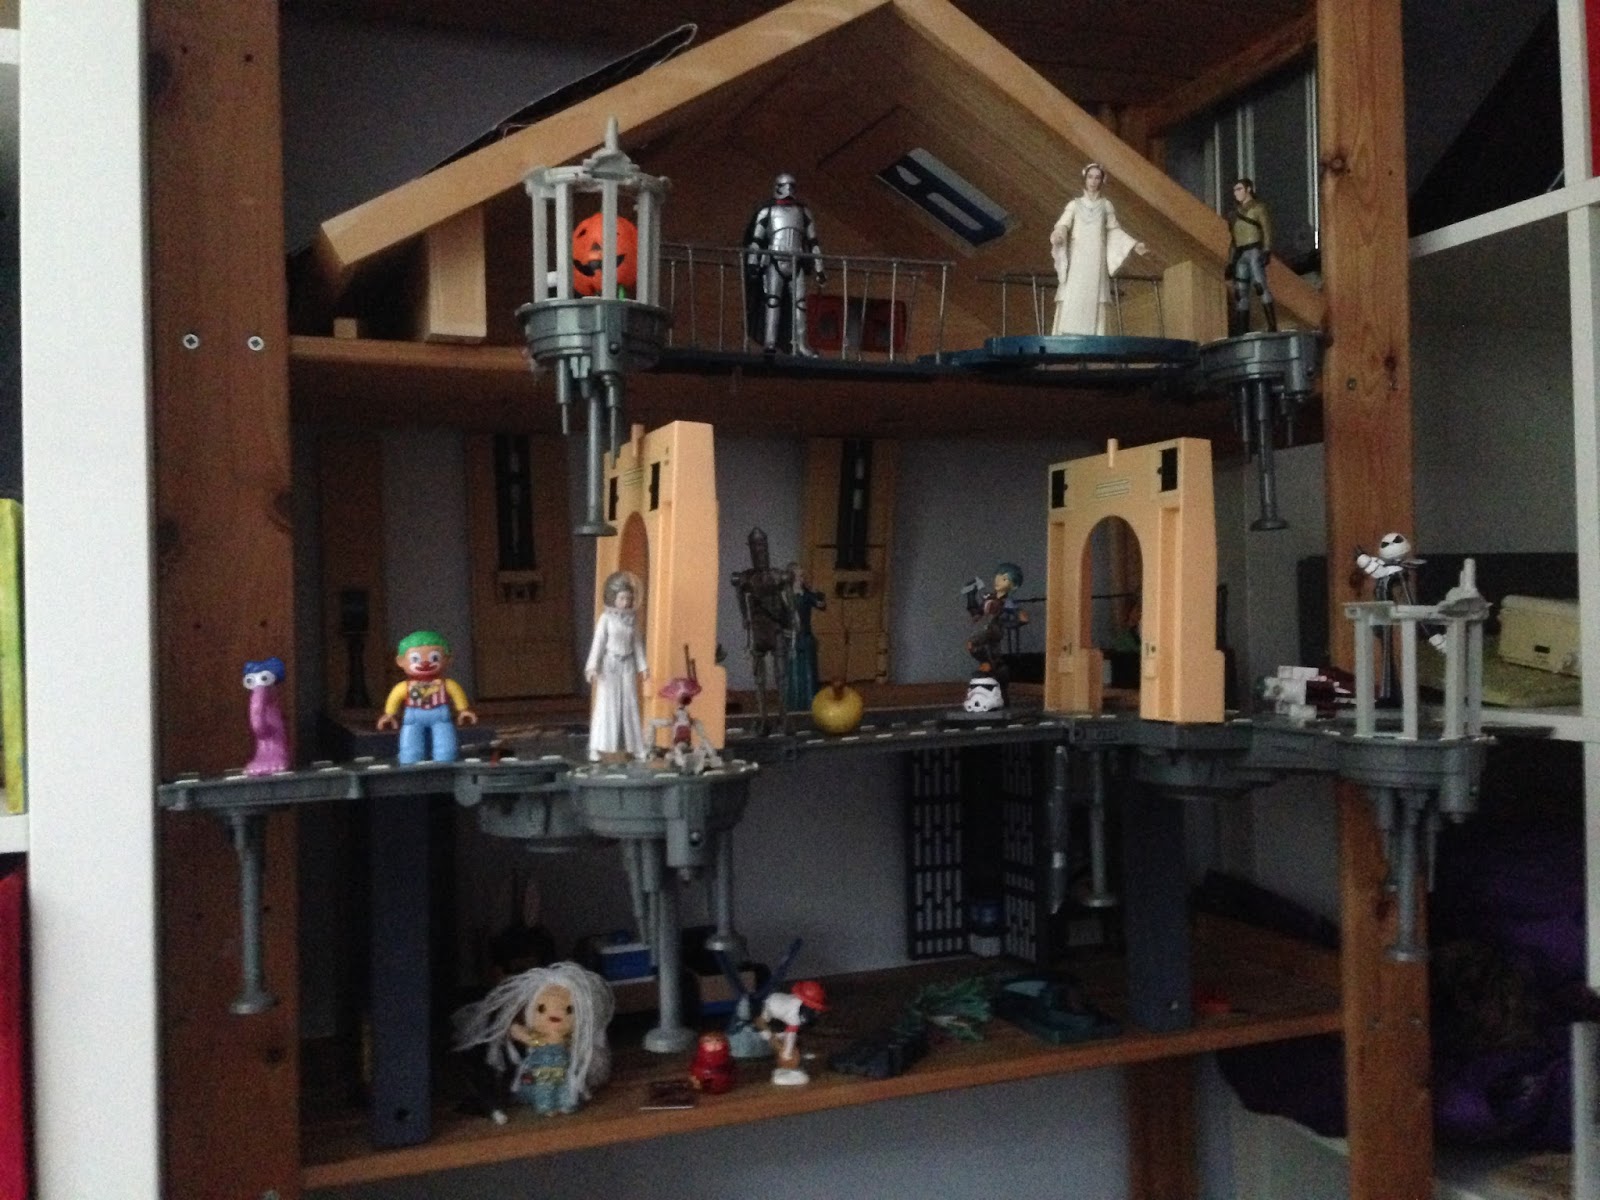

You can also see, slightly, a balcony I made from the original styrofoam we'd planned to make a little Millennium Falcon out of. I'd just painted it and added laminated decals for the floor (I’m finally getting good use out of the laminator I bought on a whim a (it was on sale) a few years ago). To top it off, I made railings out of toothpicks. The railings were, ultimately, too fragile, and ended up breaking a few months ago.
That was pretty much it for several months. It was a lot of work to get there, and I couldn't figure out how to attach the rest of the parts I'd gotten. So they sat there through the summer until late fall, where Part 4 begins.